1. Goal
In this blog post, I am trying to setup the vscode such that I can develop my flask project with debugger supported. Literally, I am trying to do following setup:
vscode + docker + uwsgi + flask
Although I am using a flask project I left since 2021 DEC, this methodology fits any project, and any frameworks. It is 2022. We should curse any projects that cannot develop with debugger.
- TLDR, show me your codes
- Go section 3 if you just interested on the setup’s explanation
By the way, during my research time, there is no public solution for my requirements. Hopefully, this is the 1st public solution forvscode/uwsgi + flask + docker:)
1.1 Target Audiences
- Any new python project
- Any existing python project
1.2 Contents overview
In section 2, I will, briefly, explain the general idea on configuring the debugger in vscode.
In section 3, I will explain the changes file by file
Side track
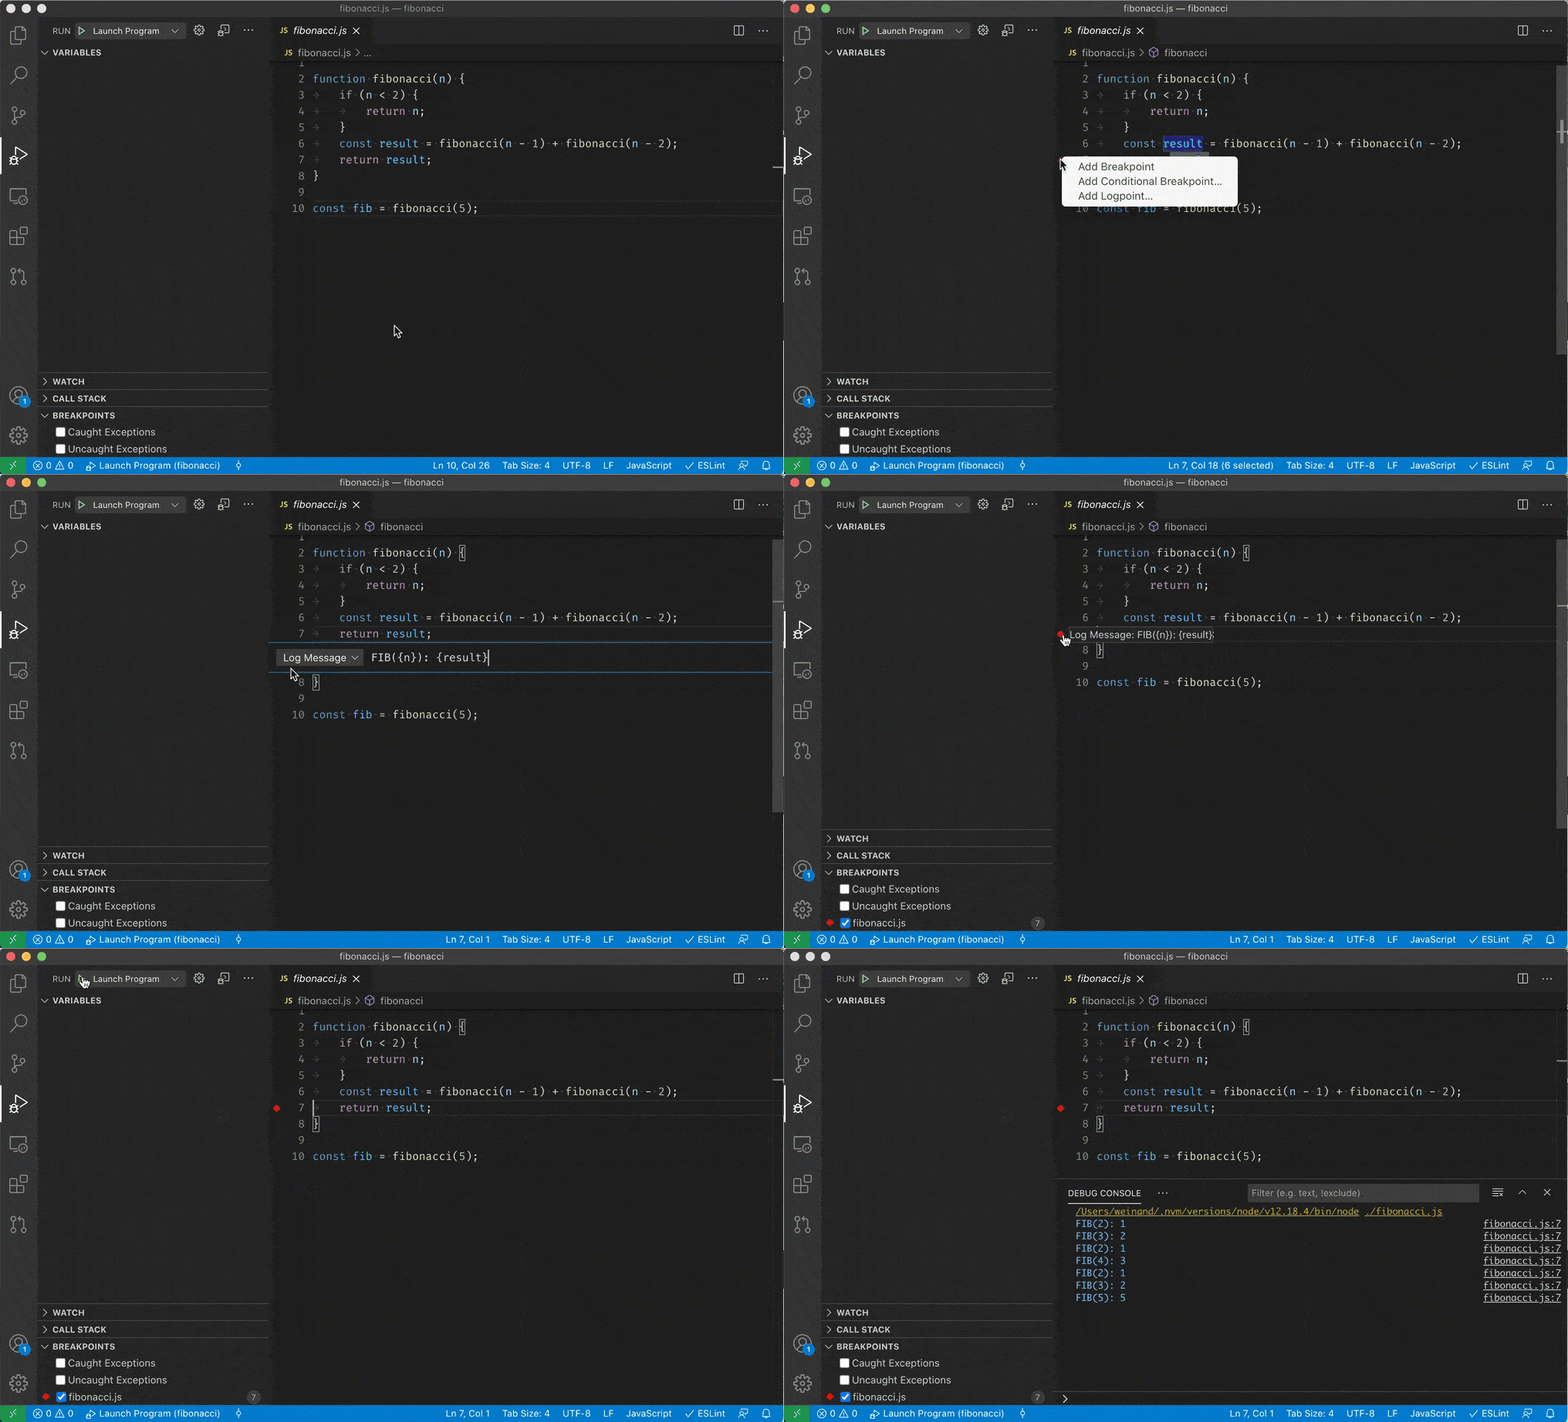
A gif from vscode’s debugger introduction for showing how debugger can help our development.
2. General idea on configuring vscode’s debugger
Although I strongly recommend you to spend sometime on reading the vscode’s Debugging documentation, there are some highlights on some critical (I think) ideas.
2.1 launch.json: launch request vs attach request LINK
The best way to explain the difference between launch and attach is to think of a launch configuration
as a recipe for how to start your app in debug mode before VS Code attaches to it, while an attach
configuration is a recipe for how to connect VS Code’s debugger to an app or process
that’s already running.
In my own wording, for those applications that cannot launch in your own local terminal directly, you will need attach. Otherwise, you will need launch. For example, you will need attach for an application hosted by uwsgi (IE, our project in this blog). You will need launch if you can run the flask application locally. (IE, python -m flask run)
2.1.1 launch based environment
For launch based environment, no magic setups are required. You can get the basic configuration by clicking the Add configuration button in launch.json. Then, you can define the necessary env / args for your own application manually. Below is an example of a configuration in launch.json
{
            "name": "Python: Current File",
            "type": "python",
            "request": "launch",
            "program": "${file}",
            "console": "integratedTerminal",
            "justMyCode": false,
            "purpose": ["debug-test"],
            "env": {
                "PYTEST_ADDOPTS": "--no-cov"
            }
        }
2.1.2 attach based environment
Since vscode is not responsible for launching the application, you need to instruct vscode to attach to the application in order to activate the debugger for your application. Read section 3 for a concrete example.
Besides instructing vscode to attach somewhere, you need to configure the pathMappings. Literally, you need to tell vscode how to map the filesystem between your local vscode, and the remote filesystem (the application you attach). For example, ~/git/PROJECT is the project root in your local device while /var/www/PROJECT is where your application lives in production. You will need to specify the filesystem mapping between ~/git/PROJECT & /var/www/PROJECT. Otherwise, debugger cannot stop at a particular line for you.
2.2 tasks.json: The Makefile (Or, script section in package.json) in vscode LINK
tasks.jsonis not REQUIRED in our problem.- Without this, you can still make the debugger works.
- With this, you will just save sometimes on typing just like
MakefileorScript in package.json
3. Code explanation
Link to the git diff for related configurations
There are massive code changes. Before explaining the changes, I will state the goals of them:
I am running the vscode’s debugger in
attachmode
Since there are limitations (features) from my base docker image, I must run the flask application viauwsgi&superviord. Otherwise, I will runs my debugger inlaunchermode. It is much easier.I need to run flask with debugpy CONDTIONALLY
Since I would like to use the same codebase between development & production, I don’t want to run the debugger in the production. So, I need to make sure the debugpy can be started only if it is a development environmentIf I need debugger, I need to ensure
- uwsgi creates one and only one worker for our flask app
- uwsgi does not kill our worker
- the debugpy’s server is on the worker thread
According to my tests, the attach mode of debugpy is really bad on multithreading. Since uwsgi must runs our flask in multithreading manner, I need to instruct uwsgi creates only 1 permanent worker. Otherwise, debugpy’s server cannot listen on my desired network port.
In uwsgi, the flask request handler’s codes are run by the workers. If you don’t creates the debugpy’s server on the worker process, the breakpoint functions in request handlers will not work as expected.
Of cause, if you need to debug codes tin both (master & workers) processes, you will need 2 different debugpy’s server. Then, you need 2 vscode’s debugger, for attaching to the servers separately.
3.1 Related to Vscode configuration
In this section, I will explain changes related to vscode configurations. As described on section 2, I am just instructing the vscode to attach to the application I want.
launch.json
{
    // Use IntelliSense to learn about possible attributes.
    // Hover to view descriptions of existing attributes.
    // For more information, visit: https://go.microsoft.com/fwlink/?linkid=830387
    "version": "0.2.0",
    "configurations": [
        {
            "name": "Attach to docker container",
            "type": "python",
            "request": "attach",
            "connect": { "host": "127.0.0.1", "port": 5678 },
            "pathMappings": [{ "localRoot": "${workspaceFolder}", "remoteRoot": "/workspace" }],
            "justMyCode": false
        }
    ]
}
- As explained in section 2, we need
attachbased configuration.- We need to instruct the vscode to connect to 127.0.0.1:5678. This will be the debugger port that the application opened because our later configurations.
- Since
/workspaceis the file root of our application inside the docker container, we instruct vscode to map our${workspaceFolder}to/workspace. Checkout variable references from vscode if you are not familiar with them. - Rest of the options are not that important. Please read this manual for detail if you are interested
tasks.json
- https://gitlab.com/mondwan/hands-on-interview/-/blob/38815f8ecb2cc7ccfae302b2a93c988757eaa8d6/contrib/vscode/tasks.json
- Due to the lengthy contents, please read the full file through above link
- As explained in section 2,
tasks.jsonis not required. You can run them manually in your own terminal
        {
            "type": "shell",
            "label": "local - docker-compose up -d with debugpy",
            "command": "docker-compose",
            "args": [
                "--env-file", "docker/setup_debugger.env",
                "-f", "docker/docker-compose-local-dev.yml",
                "up", "-d"
            ],
            "presentation": {
                "reveal": "always",
                "panel": "shared"
            }
        }
- The only 1 important command in this file. It runs following command
docker-compose --env-file docker/setup_debugger.env -f docker/docker-compose-local-dev.yml up -d- This environment file
docker/setup_debugger.envinstructs how application to launch a debugger for vscode to attach. Refer to the explanations in below section
requirement-text.txt
- Install
debugpy, which is a library for vscode’s debugger
3.2 Related to the uwsgi configuration
app/uwsgi_dev.ini
[uwsgi]
module = app.app.main:createFlaskApp()
enable-threads = true
worker-reload-mercy = 999999999
cheaper-algo = backlog
worker-reload-mercy&cheaper-algo. are important options for instructinguwsginot killing our worker.enable-threadsfixes warning from uwsgi- For all option’s detail, please refer to uwsgi option document
docker/docker-compose-local-dev.yaml
- I split the environment variables in different files (
services.CoreServer.env_file)- IMO, it is easier for maintaining them in different environments
services.CoreServer.environmentallows me to run debugpy CONDITIONALLY- Without
services.CoreServer.ports, the vscode debugger cannot attach to our debugpy’s server - Without
stop_grace_period, I need to wait 10 seconds for stopping a container. For development, I want to restart it faster.
docker/xxx.env
As the file name suggested, I group environment variables accordingly.
In order to run a debugger successfully, please make sure you set option cheaper to 1. Otherwise, uwsgi will runs more than 1 worker. It will fails our setup
Note: As I told earlier, I am using some features (limitations) from the base docker image. That’s how they expect developers to do the configurations. Therefore, in your own setup, you don’t really need UWSGI_XXX. You can write all required UWSGI options in your uwsgi.ini.
3.3 Related to the flask application
app/app/main.py
createFlaskAppis how uwsgi build our application. So, we need to keep thisMyFlaskAppFactorykeeps rest of the logic for building a flask applicationDebugpyWsgiMiddlewareruns the debugpy & wait for the debugger to attach before processing any wsgi requests- In uwsgi, you need to tell
debugpywhere is the python interpreter by usingdebugpy.configure({"python": pythonExecutablePath})
- In uwsgi, you need to tell
MyFlaskAppFactory._initializeFlaskWithDebugpy- shows how I stop debugpy being made in production environment
- Then, I inject my
DebugpyWsgiMiddlewareonflaskApp.wsgi_appin order to make sure the debugger starts on the worker thread instead of the master thread
Note:
Other blog setup does not fit my case since I don’t really know the pid of the master process due to my special base docker image.
4. How to run the application with vscode debugger
After the configuration above, let’s run the flask application with debugger.
- Run the docker-compose command as illustrated in section 3.1 for starting all the docker containers
- curl any api in the server. For example
curl http://127.0.0.1:56733/ - Expect to see the output of the curl being stalled
- Go to
Run & Debug& runAttach to docker container
- Go to
- Expect to see the server output from the curl above
- Now, you can setup any breakpoints, and debug whatever you want with that debugger
5. [Bonus] Enhance CICD with code coverage & junit report
In the old blog here, I show you how to add coverage report in the cicd in detail. To recap in short, all you need is following yaml
coverage: '/(?i)total.*? (100(?:\.0+)?\%|[1-9]?\d(?:\.\d+)?\%)$/'
In 2022, gitlab provides much more on the coverage & testing. For detail, you can refer to following links:
- https://docs.gitlab.com/ee/ci/testing/test_coverage_visualization.html
- https://docs.gitlab.com/ee/ci/testing/unit_test_reports.html
In short, in order to use above features in our project, you need following yaml
  script:
      - flake8
      - coverage run -m pytest --junit-xml=junit.xml
      - coverage report
      - coverage xml
  coverage: '/(?i)total.*? (100(?:\.0+)?\%|[1-9]?\d(?:\.\d+)?\%)$/'
  artifacts:
    reports:
      coverage_report:
        coverage_format: cobertura
        path: coverage.xml
      junit: junit.xml
Then, in the cicd pipeline, it will generates junit.xml & coverage.xml for the gitlab builtin features as listed above
